
Happy Tuesday, dolls!
I kind of hate Instagram, but I have to admit it’s crazy important to have a thought out Instagram feed as a blogger. Or just as a normal human. Instagram is like your own personal mini gallery where you can showcase your work and your life.
I get a ton of questions about what apps I use, filters, etc – so I thought it was time for a post! I’m breaking down exactly how I edit my Instagram for ya’ll, start to finish.
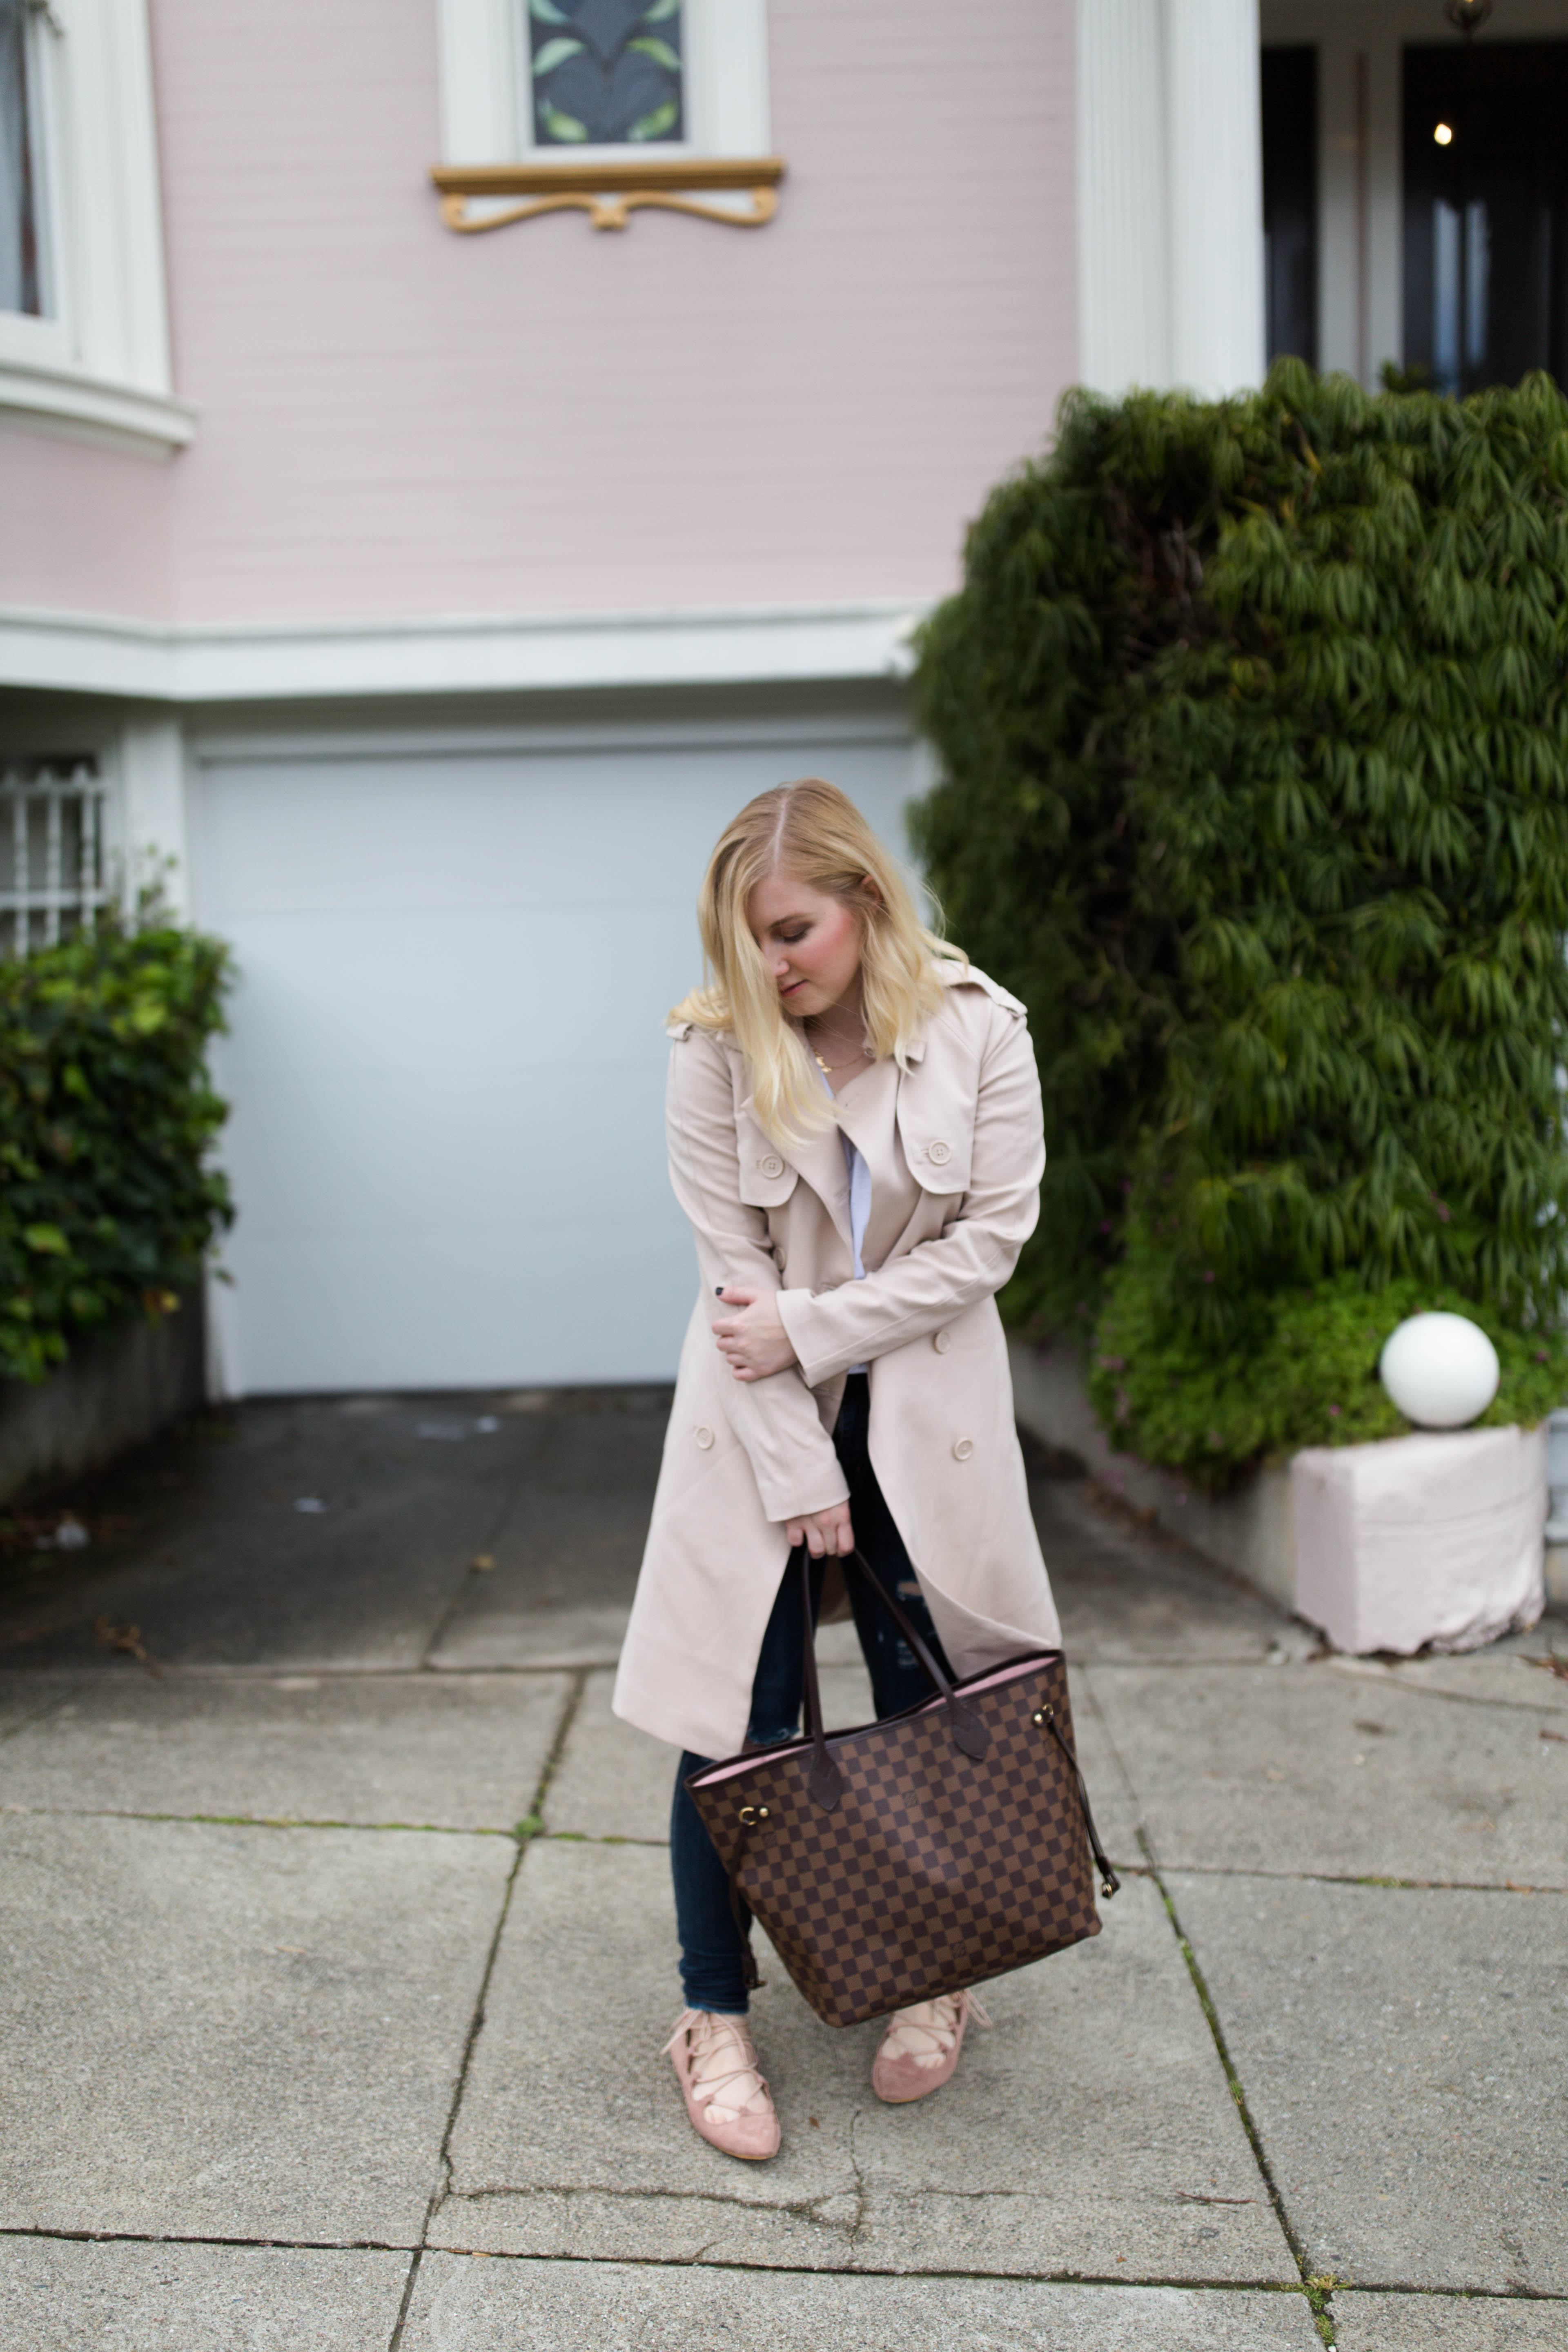
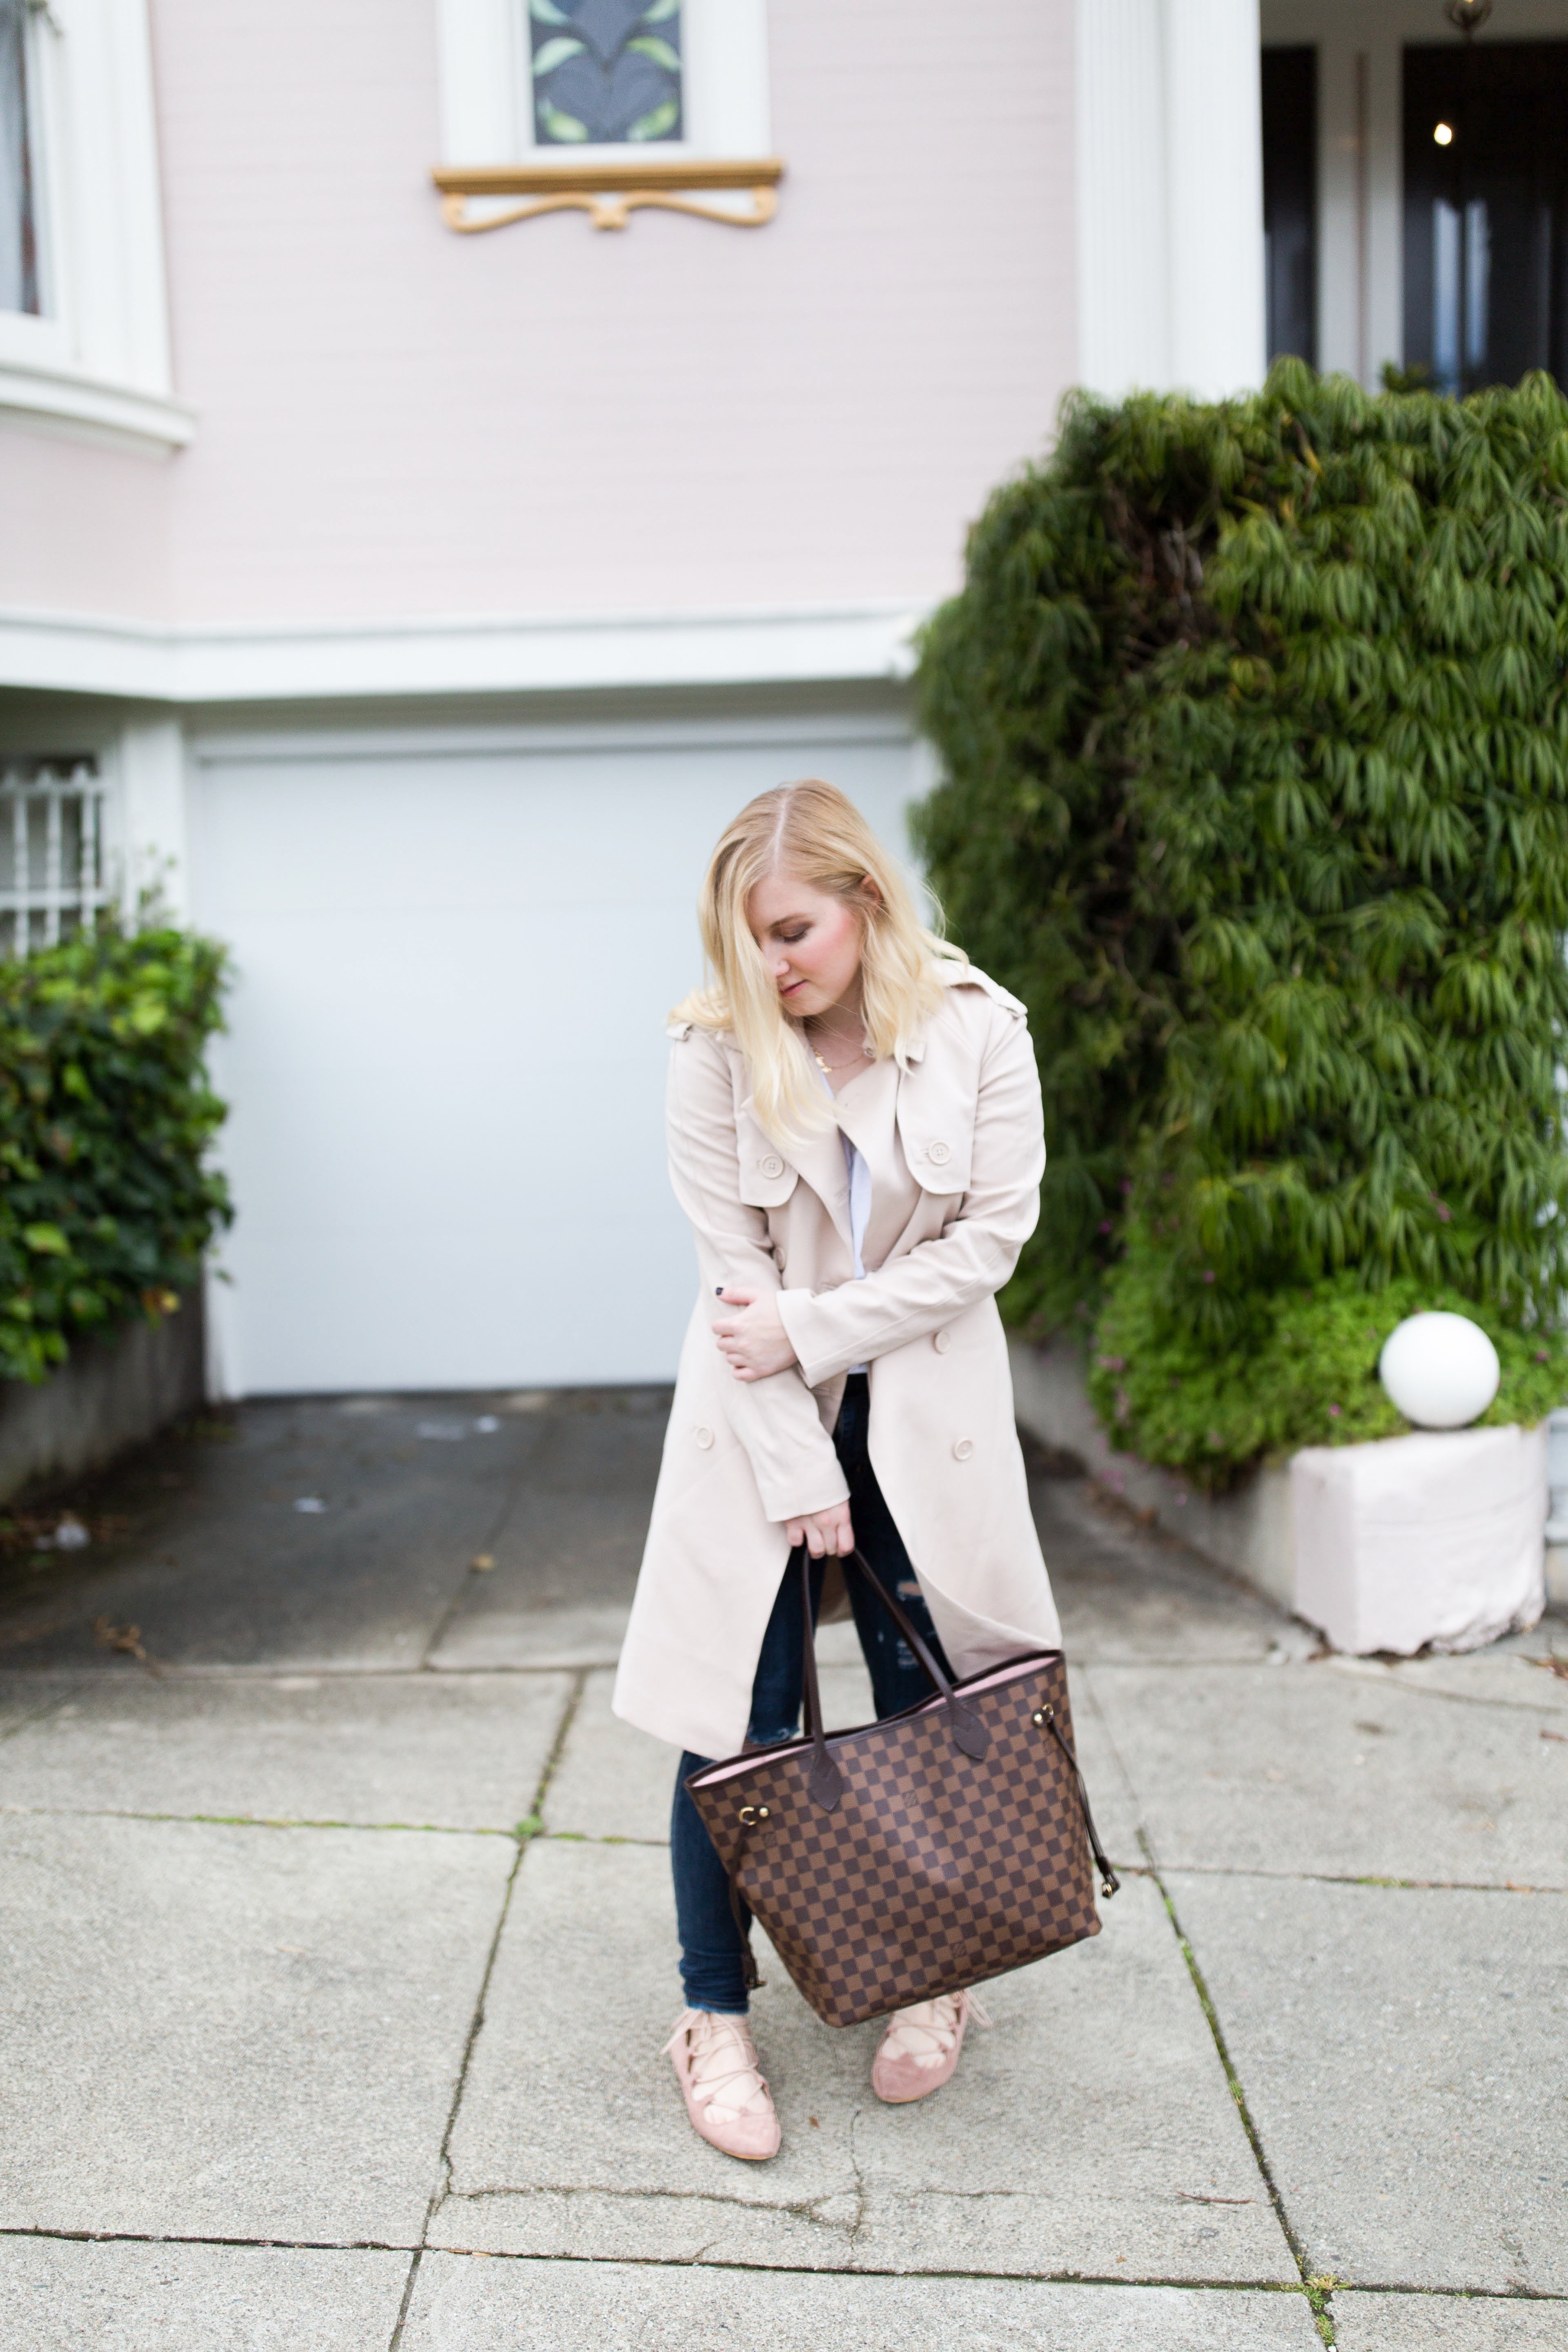
Take tons of photos – and select the perfect one.
Behind every perfect blogger photo you see on Instagram there were tens (maybe even hundreds) of outtakes. The secret to getting a good photo is to take lots of photos. I like to have tons of options so that I can get picky with my shot. Sometimes I love my body position, but the wind blew my hair a weird way. Sometimes there’s a wrinkle in my outfit in one shot that was otherwise perfect.
More photo options means a higher likelihood you’ll find the perfect pic to edit for the Gram.
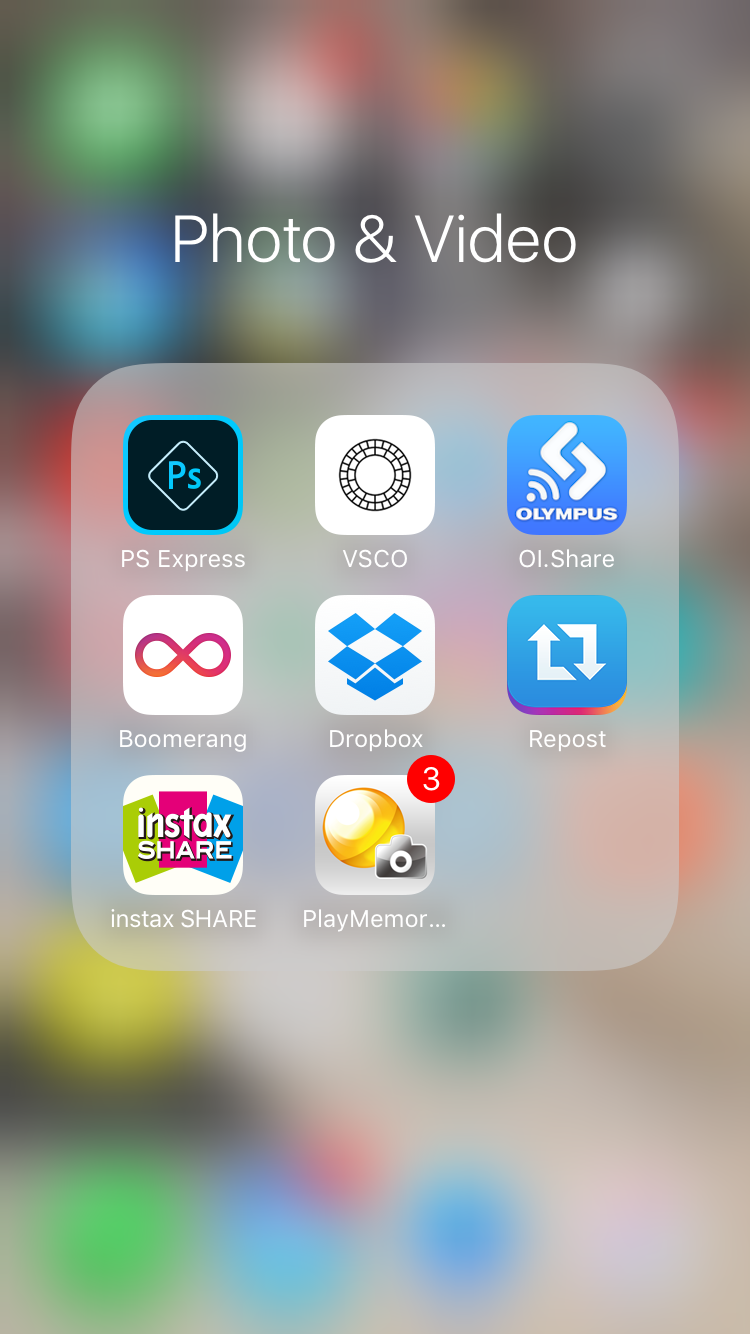
My favorite editing apps.
I primarily edit in two different photo editing apps. I love to use both Photoshop and VSCO to edit my Instagrams.
Photoshop
The Photoshop app rocks my world. I’ve had Photoshop on my computer for over eight years now so I’m fairly fluent – but having an on the go version has made my life so much easier.
VSCO
VSCO is a popular filter based app. Essentially there are tons of free and paid filters that have certain presets that you can use alone or layer on top of one another. VSCO makes life easy because it helps keep photos in a feed looking consistent.
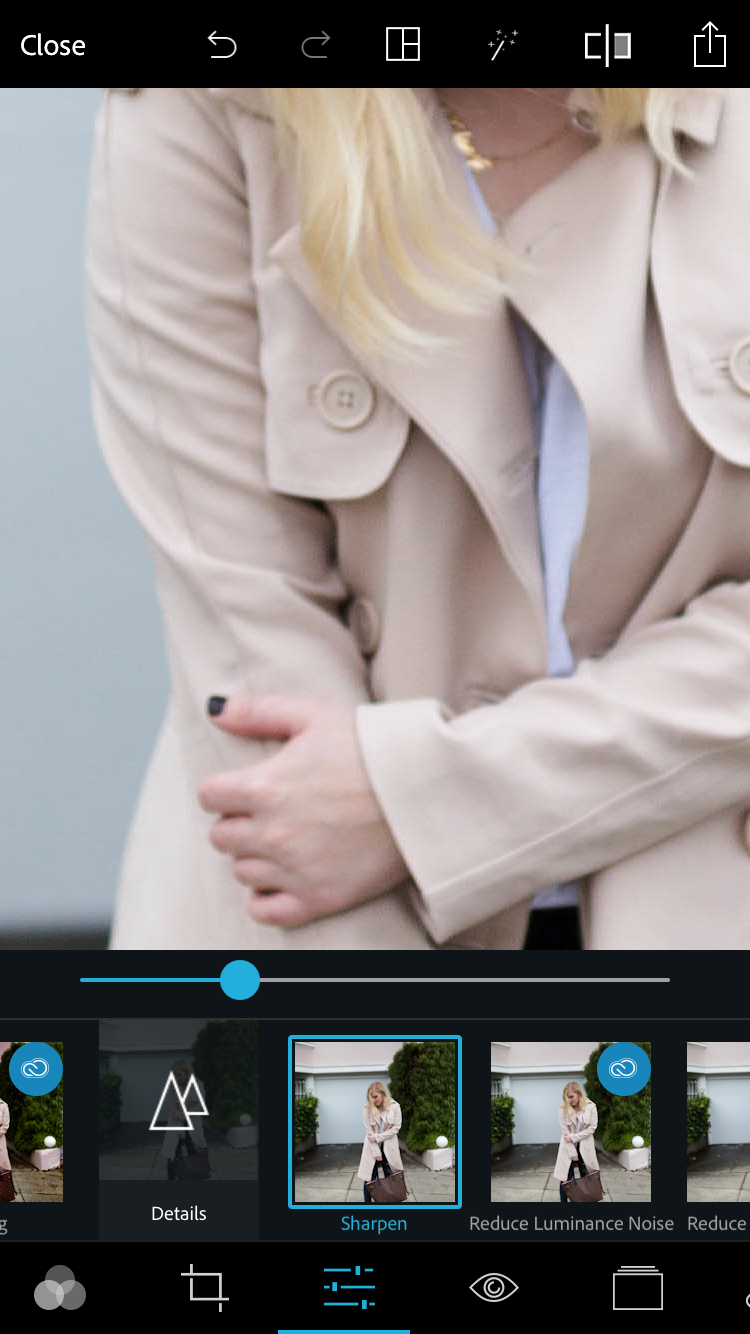
Start with Photoshop.
Up the sharpness.
The first thing I do when editing my photos is increase the sharpness. I personally like my images to be crisp and clean, so sharpness is super important. I go into my Photoshop app and adjust the sharpness to my liking.
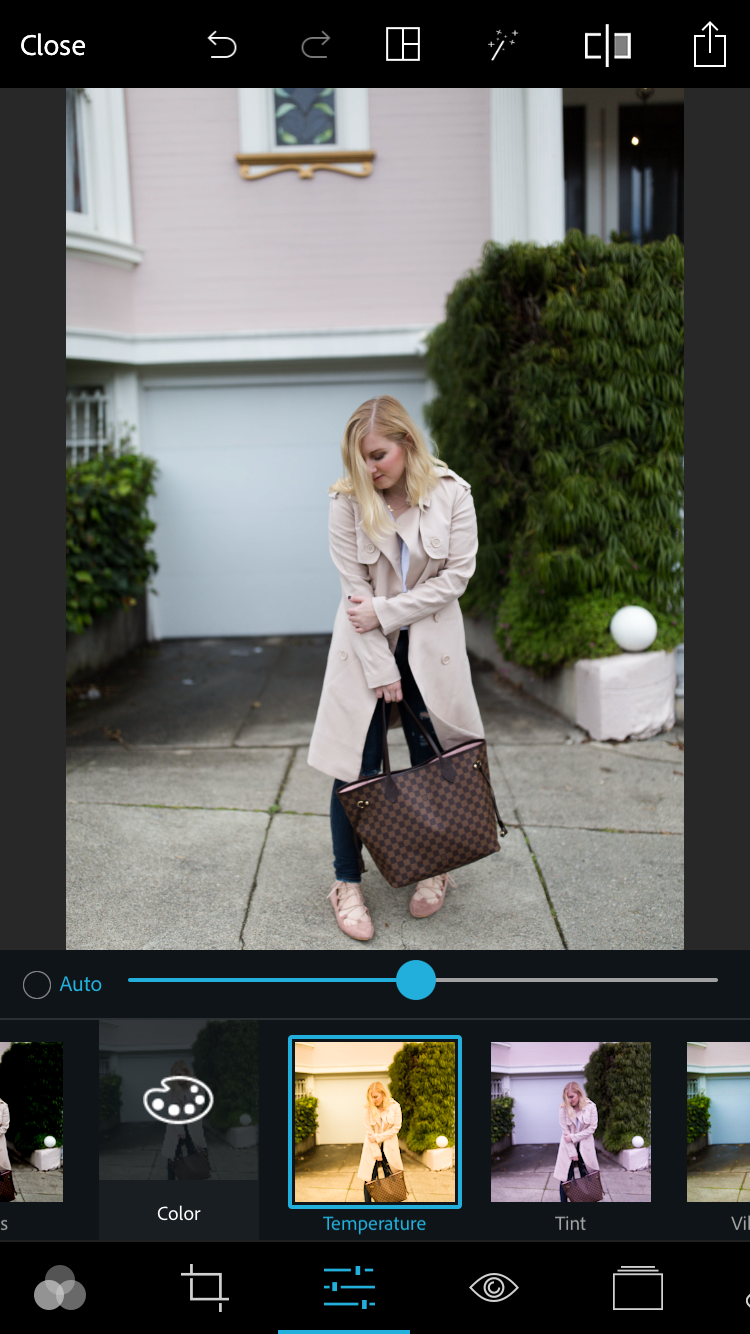
Adjust the temperature.
The next thing I do is adjust the temperature. Temperature controls how cool or warm toned your photo is.
I hate warm tones in my photos. My aesthetic is generally cool toned (think crisp bright whites – no yellow) so I spend a lot of time adjusting the temperature of my photos in Photoshop. I like to keep my photos nice and cool.
Increase exposure.
I also like to adjust my exposure. Because I’m always striving for those bright, light photos, I often increase my exposure a great deal. A high exposure keeps my photos looking nice and airy.
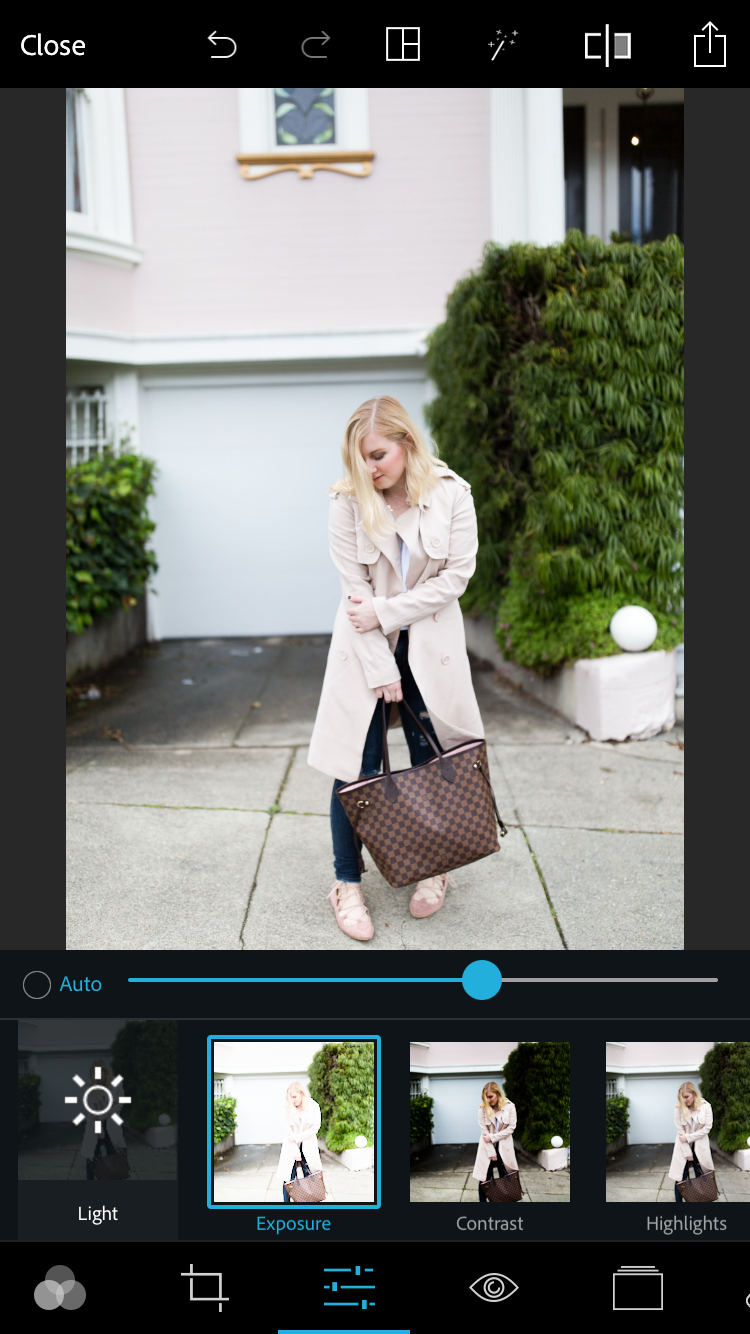
Add contrast.
Sometimes I’ll add a little contrast back into my photos – but I try to keep this to a minimum. Adding too much contrast tends to bring out darkness and yellow tones which isn’t my jam.
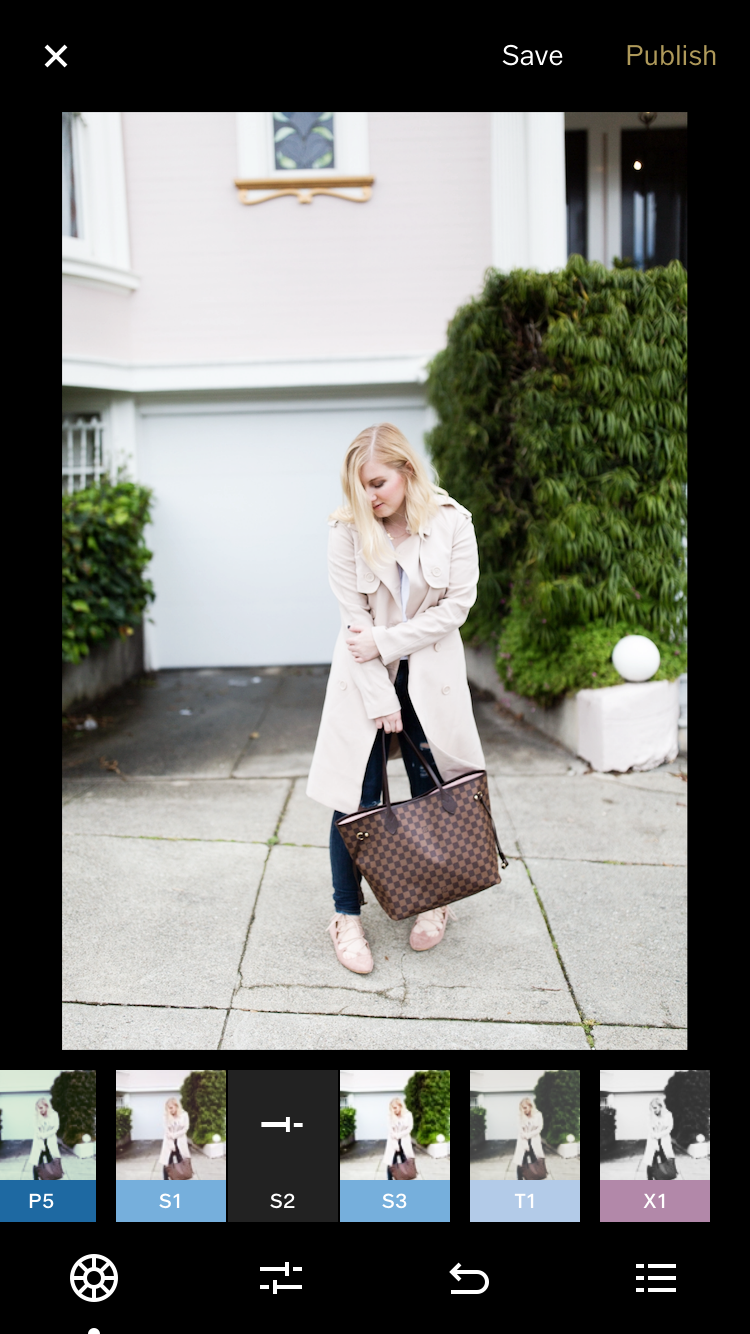
Edit in VSCO.
My favorite VSCO filter.
VSCO can be an intimidating apps because there are so many filter options – some free and some paid. I messed around with some of the free filters for a while, but none of them were giving me that crisp, clean, cool-toned look I was after.
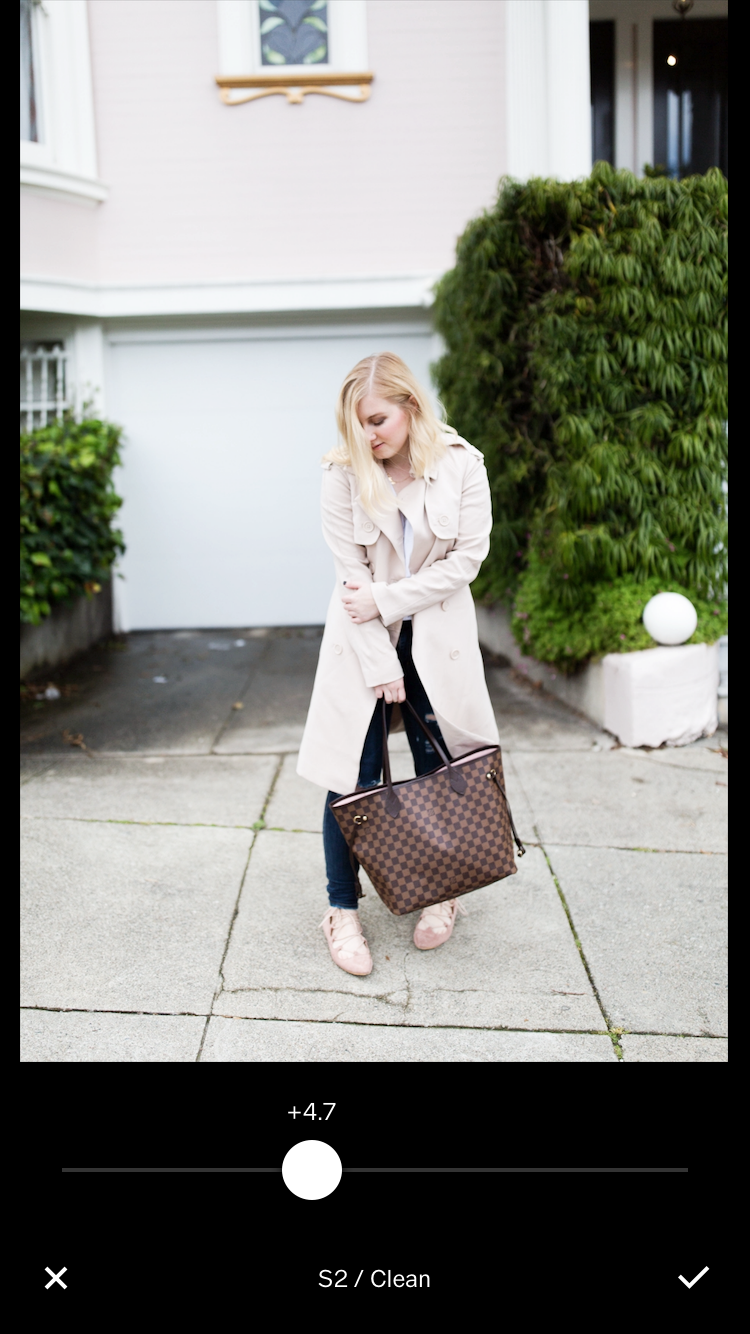
I bit the fairly inexpensive bullet and purchased some filters. That’s when I found my holy grail VSCO filter – S2. Now I use S2 on every single photo. It’s absolutely perfect for me – it brightens the whites, darkens the darks, and keeps all the tones nice and cool.
VSCO is an awesome tool to play around with – take the time to find the filter that’s right for your aesthetic and I swear it makes Instagram life way easier.
Final touchups.
I like to keep it real with you guys so I’ll be honest – sometimes I go through several rounds of the above steps. There are plenty of photos that I jump back and forth between Photoshop and VSCO three times over making little tweaks here and there until the shot is perfect.
Sometimes the image needs a little more brightness. Sometimes it’s still a little too yellow. I like to take my time editing each picture to keep everything clean and cohesive in my feed.

What apps and filters do you use to edit your Instagram? Tell me in the comments below!
I use Photoshop then VSCO too!
xx Rebecca // http://www.rebeccapiersol.me
I use so many of these + UnUm it’s so amazing!
Hayden // http://www.hautetableblog.com
So fun to see how other bloggers edit! I loveeeee VSCO!
SimplyJandK.com
I love reading tips on editing instagram photos – yours were so helpful! My go-to app is Snapseed, and I’m a big fan of bright pictures!
xoxo, Cecilia // sunnysidececilia.com
LOVE THESE TIPS! My question is (for myself) why haven’t I got the Photoshop app yet?! I didn’t even know they had this, such a game changer!
Rachel / http://www.helloher.co
Very true about taking lots of pictures for the perfect Instagram post. I use Adobe Lightroom! and always play with the exposure
Made in Mauve